If this is your first visit find the very first post in the archive and start reading there, it will make more sense.

Saturday, November 26, 2011

New Place to Plant your Butt.

Or a New vintage seat cover.  Very nice one at that.  Another great ebay find, A place that is actually fairly local to me. Gresham, Or. I believe they do all kinds of upholstery and also seat covers on the side. I posted a link to their ebay store in the side bar if you are in need of a new cover. The one that I ordered was not listed in their store but I sent them a message and asked if they had it and yes they did. So if you don't see yours its worth asking about.
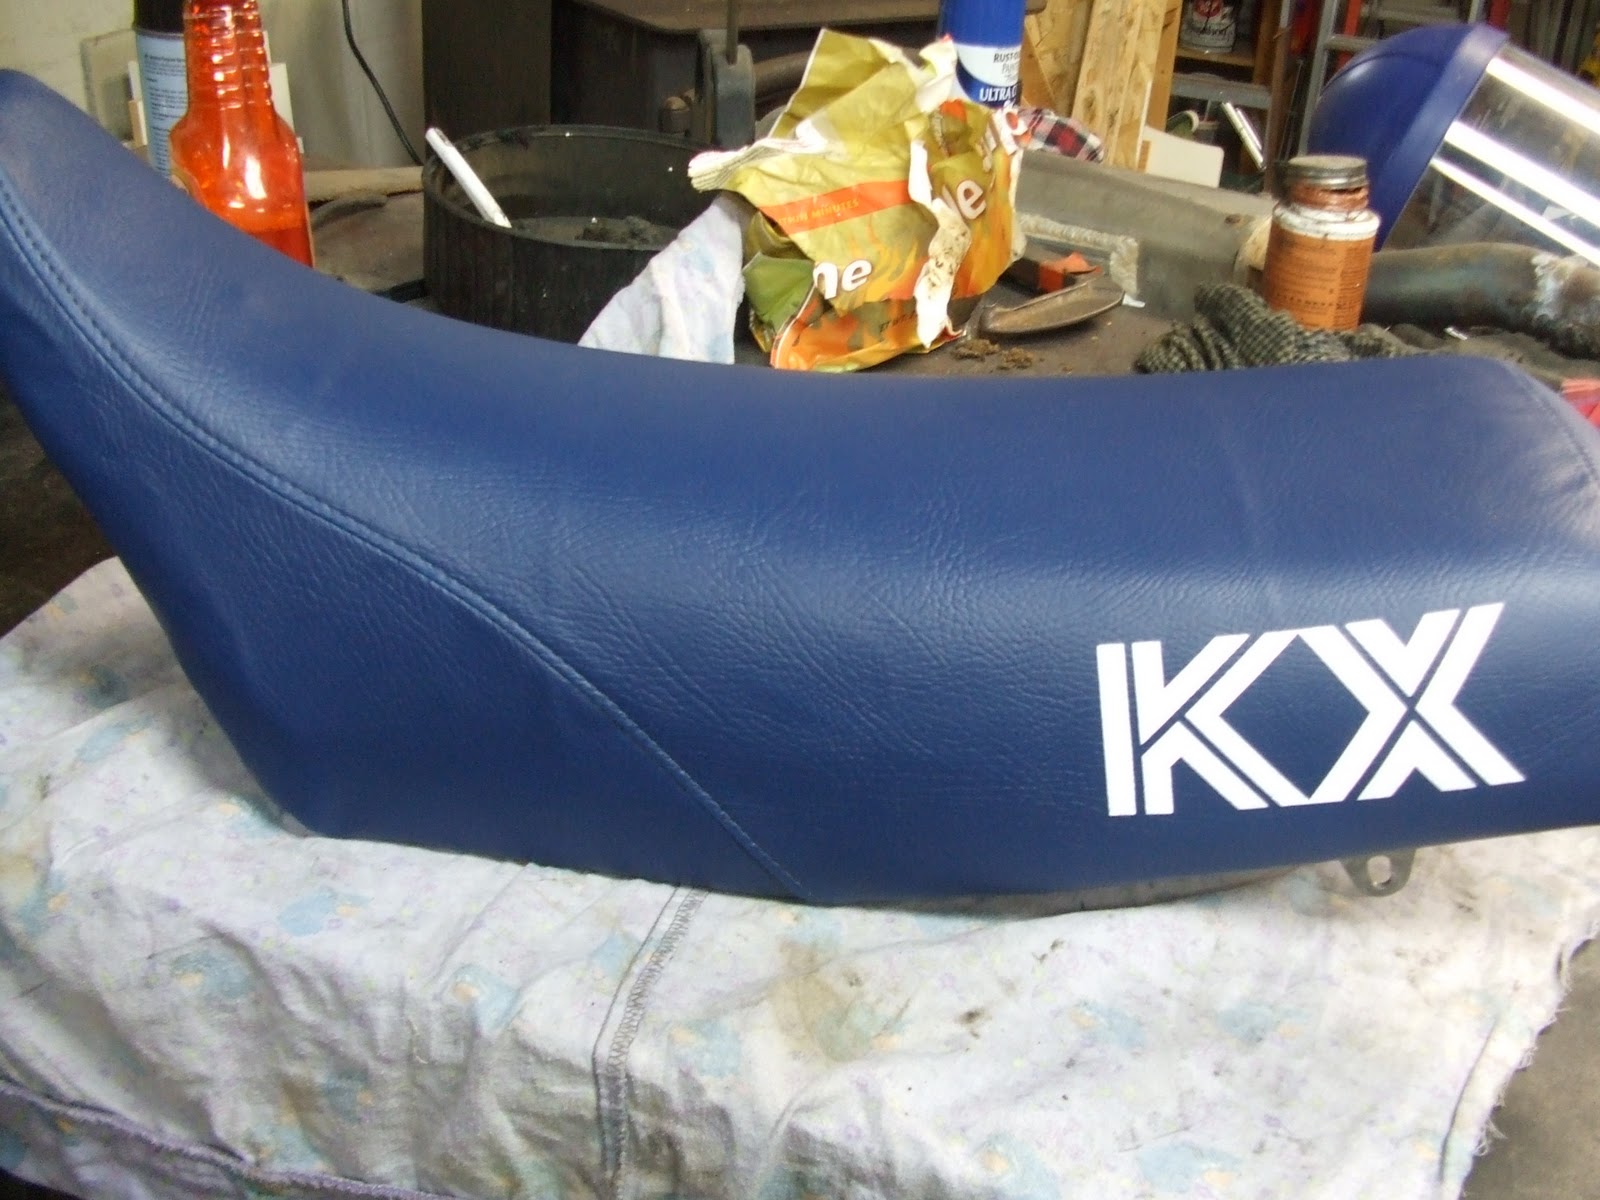
I want to keep several things on the bike that are true to the original, many of them are graphics related.  The seat had to have the correct year graphic KX printed on it.  In the 80's and still today that is a major part of being able to tell what year bike you are looking at so I want it right.

 This is the one that was on the bike, Original I believe and actually in great condition for 25 years old.  If I was not able to find a good replacement I would have been very okay with using this one.  There was a bit of wear on it and the very front of the cover was getting hard and was about to crack (it actually did when I removed it from the foam).  As you can see from the photo below the bottom edges of the cover had worn through where is rubs against the frame.


The seat foam is doing okay, it is a little flaky at the side from years of use and weather but it is still pretty soft all around so it will be reused under the new cover. 
The pan is also in very good condition. I used some electricians friction tape around the bottom edges to help keep it from rubbing through the new cover, while I had it apart I also took the time to heat up the pan at the front and bend it forward to get rid of the gap between the tank and the seat.


Perfect Fit! I couldn't be happier with how the cover went on.  Really a nice product and great fit. In the bottom photo you can see that the gap at the tank is gone.  The cover has some wrinkle left in it might be from the foam underneath or it may smooth out with a little time. All in all I am very pleased with it.

Friday, November 18, 2011

Rear Wheel Setup.

Yessss.... Finally all the parts came in for the rear wheel. Well except the new bearings but I can make due with the old for now since I am not putting any motos in. 
 It has been a very long time since I laced up a wheel and was not really sure how this was going to go.
 As it turns out it went really well, got my offsets just right and the wheel is nice and true.  Took about two hours start to finish. Take a look back at the originals  OH Crack! , well this should be an improvement. 


Went with the 19" rear instead of the 18" that this bike came stock with. Just a preference on my part.  Thanks to Rad Mfg. for the sweet Green Nipples and spokes. Cool stuff guys.

Wednesday, November 16, 2011

SNEAK PEEK.......


I felt compelled to put some plastic on and take a look at what it is gonna look like.  So far I like what I see except for the seat pulling away from the tank.  Can't figure that one out. One would think that it would be a bent subframe but that thing looks really good. Every thing lines up really good except the seat at the tank. I have seen some other 86's that have the same issue so I may just have to deal with it.
Also got the rear shock back from Pro-Motion Suspension today, doesn't look much different then when it went over there but the insides are fresh and new. This weekend I will make the outside look fresh and new too.  With any luck some more of the parts that I have ordered will come in and I can put some good quality garage time in.  Was going to ride this weekend but northwest weather has turned on us and it is supposed to rain and snow with temps in the low 20's over in Goldendale so I think a fire in the stove in the garage and bike work is where I will be.

Saturday, November 12, 2011

Its a Gas!!!

Getting new parts that is. I know Ive said it before that I love getting new parts, well I got some more. This time I am going to share the gas tank that I got. I did get some other parts too but the assembly is not complete so I will wait till everything show up. When I found this tank on ebay about a month ago I didn't think it would be the one that I got. I found some that actually looked better in the photos but when I would get in touch with the seller there was always some kind of problem with the tank, Most usually with the inserts that allow you to bolt the shroud onto the tank. They had a tendency to get spun in the plastic. Usually this happens when the owner puts too long of a bolt into the insert and it bottoms out making it stuck and then the insert just spins in the plastic and you cant get the bolt out, rendering the tank useless if you need to change the shroud.  So this tank turned out to not have that problem, I actually contacted the seller twice on accident to ask about it and finally went for it.  To back up a little bit, I was going to bite the big dollar bullet and purchase a new tank at about $260, I found many web sites that had it for sale only to find out that they really didn't have it and could not get it from Kawasaki. Also couldn't find an aftermarket company that makes them..this tank is different then the one that came with my bike. Only difference that I have found is that it seems a little wider in the middle underneath and the tread count and pitch on the cap is different.  Now I don't know if this one is a different year or if the one that was on my bike is not an 86. I could probably figure it out with the codes on the bottom of the tank but I don't know if it makes any difference to me. It fits so that is what counts.
As you can see in the photo it cleaned up really well. I did some practicing on the old one so that I would keep from messing up the one I planned on using.  It seems to have paid off as I got a pretty good sheen on the old plastic and the amount of scratches visible is pretty minimal. There were some deep gashes on one edge of the tank and they almost disappeared.  I wish I could figure out how to get rid of the sticker shadows left over from years in the sun.  Other then that the color looks really good.

Still Working

I am still working on things, some times it seems a little slow just because I have to wait for shipping or the process of finding the parts or researching where I can get the best price or who actually has what I want even though their web site says they have it then they get back to me and say sorry we don't actually have that part and can't get it.  In that case it starts all over with the next vender. 


This is a part that I just made for myself. It is a simple part, Rear brake caliper guard. Made from aluminium, cut out no bends or welds.  I am sure it wouldn't protect the caliper very well in a side impact but the stock one is exactly like this.

Saturday, November 5, 2011

Got A Shock.

Well I finally got a shock that is right and was pleasantly surprised in the condition that it was in when it arrived.  It was pretty dirty and in the photos online it looked worse. 


Here it is on the bench just before getting the de-greaser treatment. Nice to see that the bump stop was still in good shape and soft. Most of the shocks out there this age have lost them because they dry out and crack then fall out.


Here it is all cleaned up and ready to be serviced.  I put it back together and took it over to ProMotion Suspension to be serviced. In About a week or so I should be able to bolt it back up to the bike and move forward a little more with the assembly process.